前言
官方的demo太简单了,还是费了一段时间去查找各种资料。
参考地址:fxldemo fxlauncher JavaFX程序通过exe4j和FXLauncher实现打包exe加自动更新
操作过程
将项目打包成文件
1.在pom.xml文件中引入Fxlauncher必要的依赖
xml
<!--启动器用于自动拉取更新-->
<dependency>
    <groupId>no.tornado</groupId>
    <artifactId>fxlauncher</artifactId>
    <version>1.0.21</version>
</dependency>
2.配置pom.xml文件中的properties
xml
<properties>
<app.filename>维帝工具箱</app.filename>
<!--运行的主类-->
<app.mainClass>cn.veddy.gui.app.App</app.mainClass>
<!--FXLauncher运行后文件下载的位置-->
<app.cacheDir>./lib</app.cacheDir>
<!--更新文件的服务器地址,在这里可以打开下载你的更新jar包就行,tomcat和apache都行-->
<app.url>https://gitee.com/Veddy/JavaFX_App_Lib/raw/master/app</app.url>
<!--编译后的位置,这个位置在Idea里面是target下面的app目录-->
<app.dir>${project.build.directory}/app</app.dir>
<!-- Native installers will be built in this folder -->
<app.installerdir>${project.build.directory}/installer</app.installerdir>
<!-- The Application vendor used by javapackager -->
<app.vendor>Veddy Blog</app.vendor>
<!--更新时的提示语-->
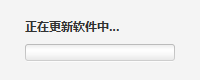
<app.updateText>正在更新中...</app.updateText>
<!--是否接受版本降级-->
<app.acceptDowngrade>false</app.acceptDowngrade>
<project.build.sourceEncoding>UTF-8</project.build.sourceEncoding>
<maven.compiler.source>1.8</maven.compiler.source>
<maven.compiler.target>1.8</maven.compiler.target>
<maven.test.skip>true</maven.test.skip>
</properties>3.配置pom.xml文件中的build
xml
<build>
    <!--打包后你的代码会以这个名称生成为jar包,以后更改项目代码只需要将这个jar包上传至更新服务器即可-->
    <finalName>Veddy</finalName>
    <plugins>
        <!--编译执行文件-->
        <plugin>
            <groupId>org.apache.maven.plugins</groupId>
            <artifactId>maven-jar-plugin</artifactId>
            <version>2.6</version>
            <configuration>
                <outputDirectory>${app.dir}</outputDirectory>
            </configuration>
        </plugin>
        <!--拷贝依赖jar包到编译目录-->
        <plugin>
            <groupId>org.apache.maven.plugins</groupId>
            <artifactId>maven-dependency-plugin</artifactId>
            <executions>
                <execution>
                    <id>copy</id>
                    <phase>package</phase>
                    <goals>
                        <goal>copy-dependencies</goal>
                    </goals>
                </execution>
            </executions>
            <configuration>
                <excludeScope>provided</excludeScope>
                <outputDirectory>${app.dir}</outputDirectory>
                <stripVersion>true</stripVersion>
            </configuration>
        </plugin>
        <!--fxlancher打包-->
        <plugin>
            <groupId>org.codehaus.mojo</groupId>
            <artifactId>exec-maven-plugin</artifactId>
            <version>1.4.0</version>
            <!-- 生成 app.xml manifest -->
            <executions>
                <execution>
                    <id>create-manifest</id>
                    <phase>package</phase>
                    <goals>
                        <goal>java</goal>
                    </goals>
                    <configuration>
                        <mainClass>fxlauncher.CreateManifest</mainClass>
                        <arguments>
                            <argument>${app.url}</argument>
                            <argument>${app.mainClass}</argument>
                            <argument>${app.dir}</argument>
                            <argument>--cache-dir=${app.cacheDir}</argument>
                            <argument>--update-text=${app.updateText}</argument>
                            <argument>--what-new=${app.whatNew}</argument>
                            <argument>--accept-downgrade=${app.acceptDowngrade}</argument>
                            <argument>--stop-on-update-errors=true</argument>
                            <argument>--lingering-update-screen=true</argument>
                            <argument>--version=${project.version}</argument>
                            <!--这里可以放你想要更新文件打包进去的文件 比如dll,db之类的,可以事先放在app目录下-->
                            <argument>--include-extensions=exe,dll</argument>
                        </arguments>
                    </configuration>
                </execution>
                <!-- 把app.xml打包进fxlauncher.xml,这样就启动器就不需要依赖app.xml来启动了 -->
                <execution>
                    <id>embed-manifest-in-launcher</id>
                    <phase>package</phase>
                    <goals>
                        <goal>exec</goal>
                    </goals>
                    <configuration>
                        <executable>jar</executable>
                        <workingDirectory>${app.dir}</workingDirectory>
                        <arguments>
                            <argument>uf</argument>
                            <argument>fxlauncher.jar</argument>
                            <argument>app.xml</argument>
                        </arguments>
                    </configuration>
                </execution>
            </executions>
        </plugin>
        <plugin>
            <groupId>org.apache.maven.plugins</groupId>
            <artifactId>maven-compiler-plugin</artifactId>
            <version>3.8.1</version>
            <configuration>
                <source>1.8</source>
                <target>1.8</target>
            </configuration>
        </plugin>
    </plugins>
</build>
4.接下来使用Maven去将项目打包
mvn clean
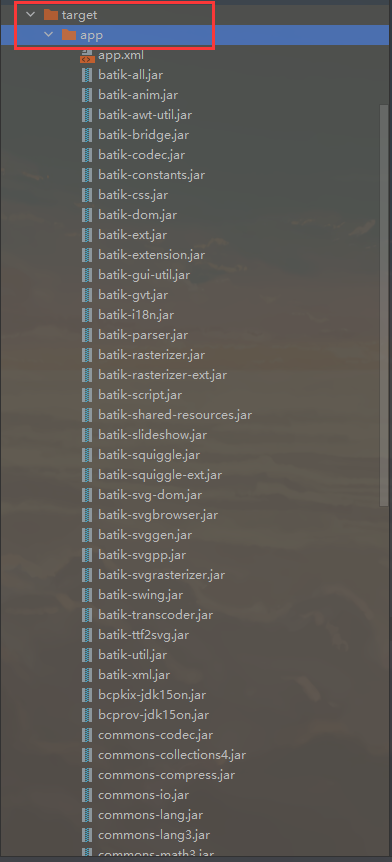
mvn package5.Maven打包后的文件以properties中app.dir位置为准
打包后的文件图,咱们只需要app中的文件即可
将项目通过Exe4j打包成exe文件
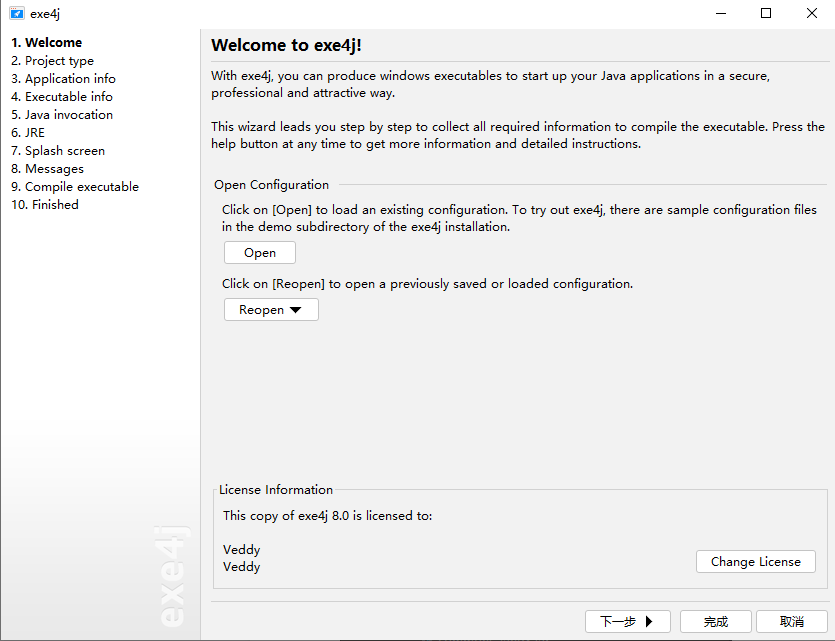
1.打开Exe4j
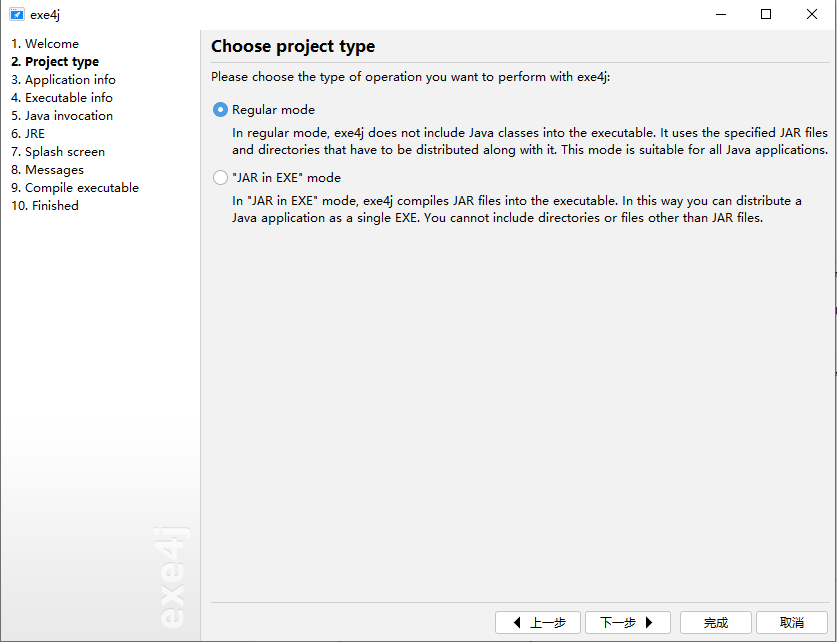
2.选择打包方式,其中咱们选第一项,第一项的话可以指定读取某个路径中的所有jar包,而第二项只能读取jar包文件,而不可以通过路径读取。
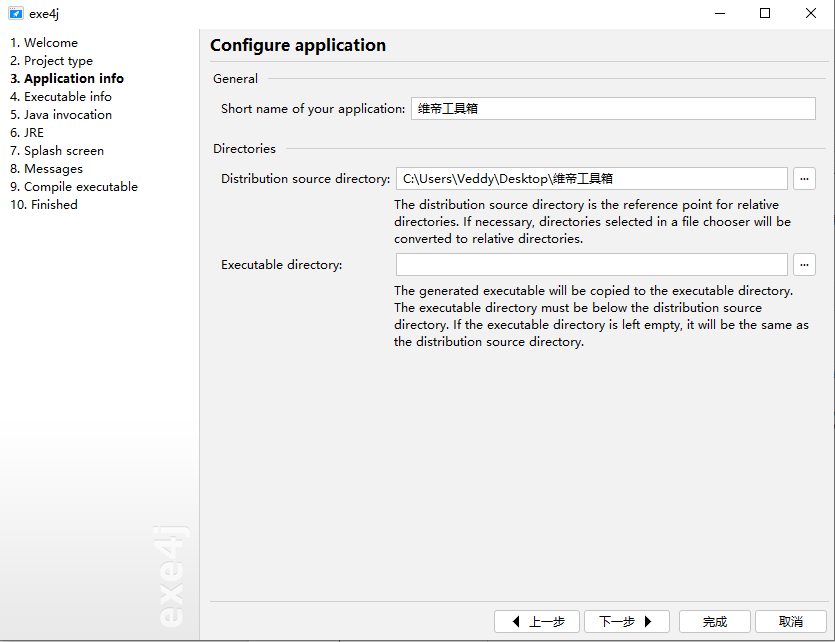
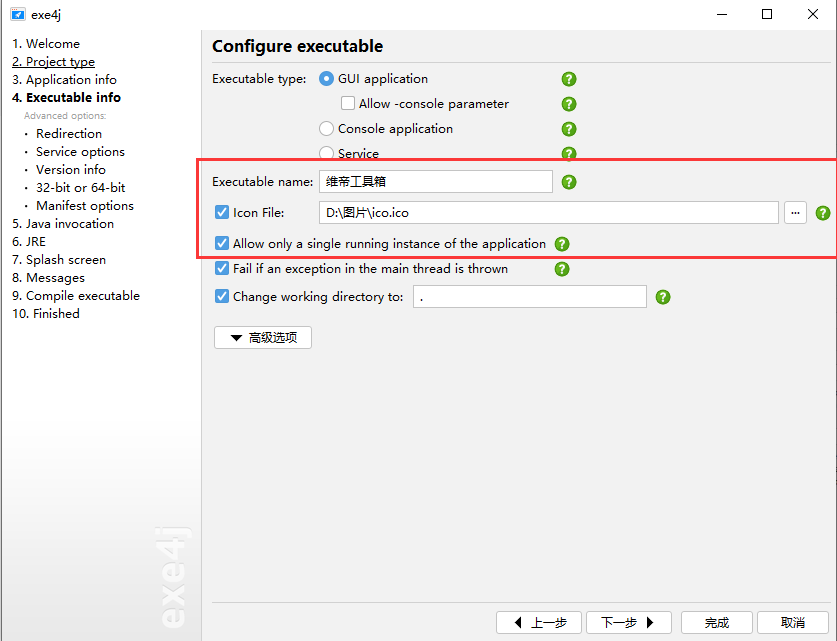
3.输入软件名称以及生成后的exe文件存放目录
4.选择打包后的exe名称,选择图标,按需求勾选是否只能运行一个程序(不勾选的话可以打开多个软件)
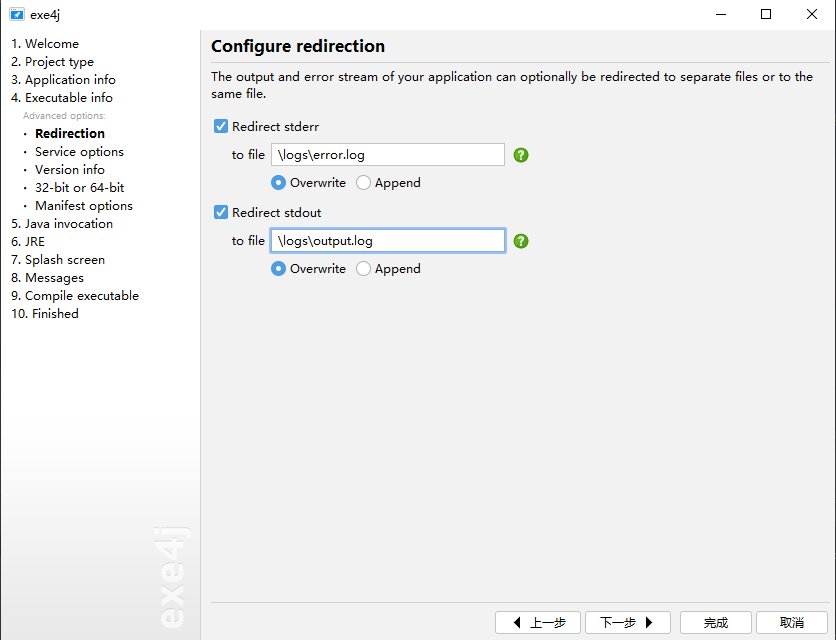
5.选择exe4j日志路径
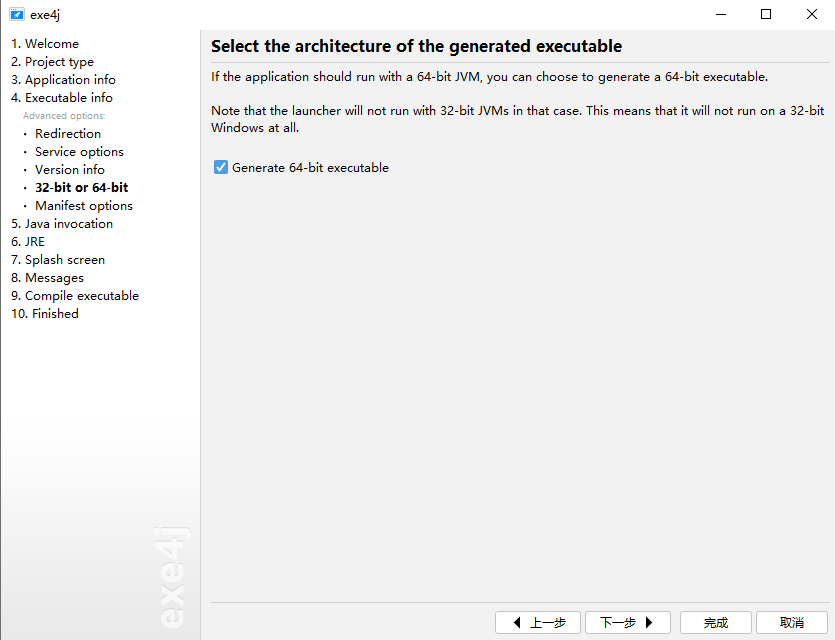
6.根据具体需求选择运行方式,32位或者64位
7.选择需要打包进exe的jar包或者选择jar包所在路径(需选择步骤1的第一个选项)
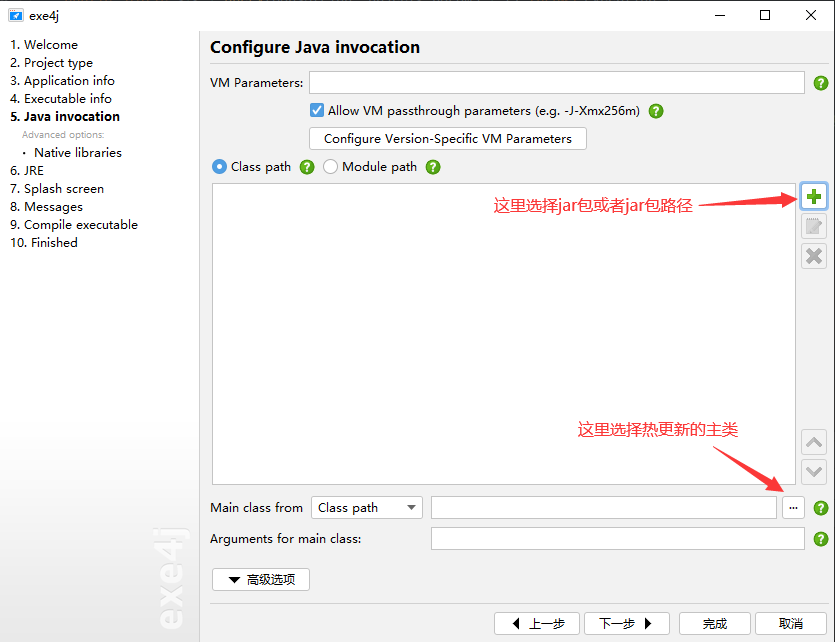
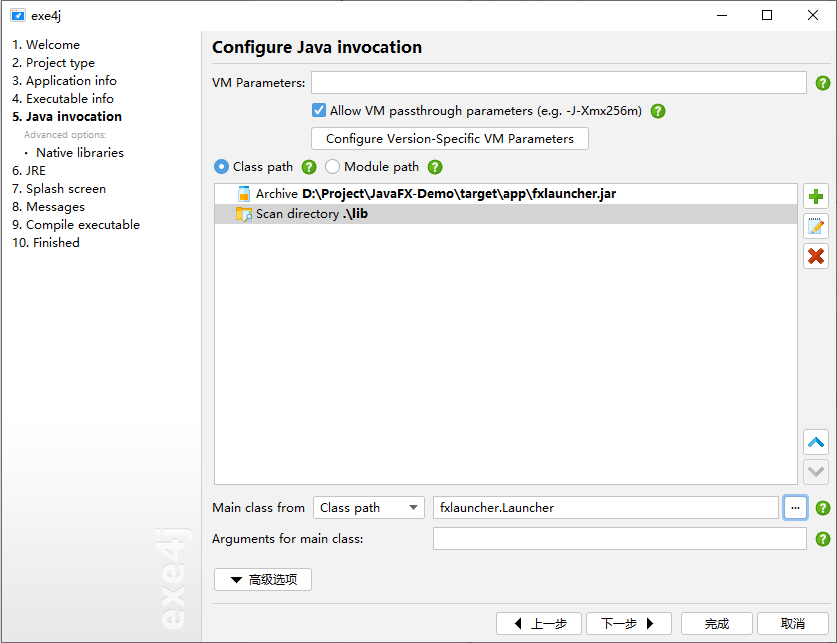
先选择第三项,选择热更新的Fxlauncher的启动jar包

后选择第一项,选择jar包所在路径(之前pom文件中设置过的路径,将会通过热更新把更新的jar包全更新在exe所在根目录的.\lib下)

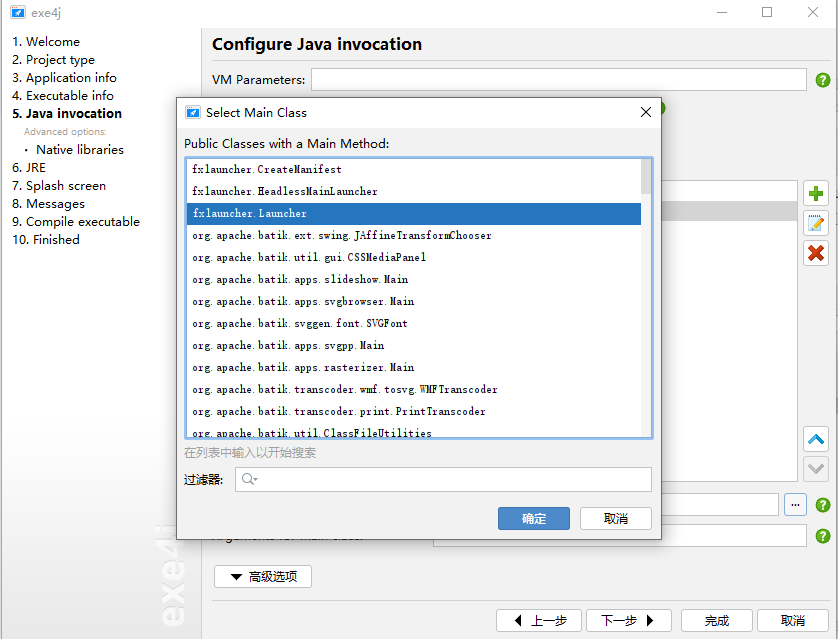
通过下面的选项选择热更新的启动类
设置好jar包的图示
8.配置jre
软件默认配置为这样,按需看需不需要删除默认配置(自带环境变量或者本地jre)
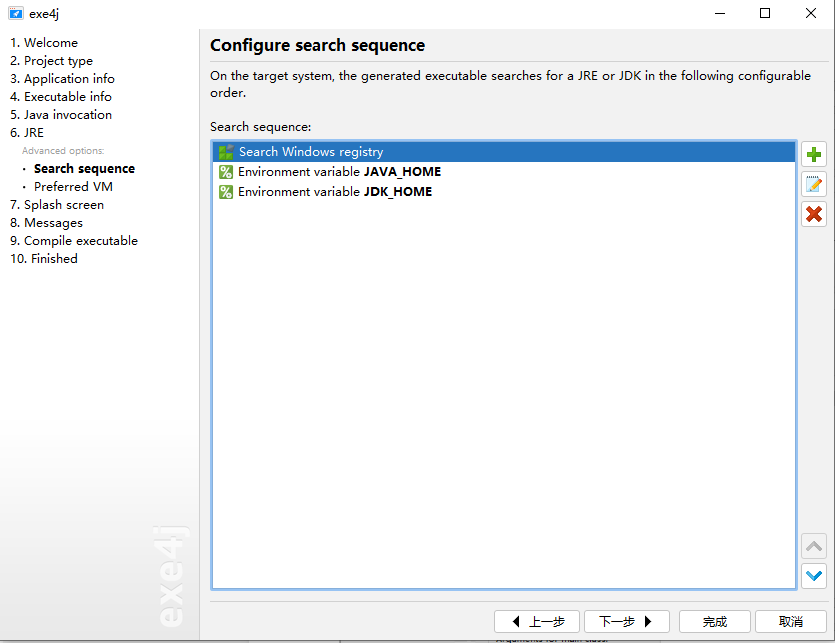
这里我们选择使用本地jre(因为可能部分用户电脑没有java环境配置,如果只是自己用的话使用默认配置中的环境变量即可)

9.最后点击完成即可生成exe文件
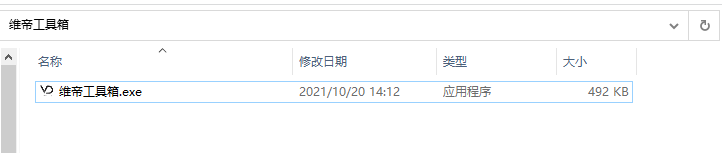
10.这里我们还需要将我们的jre给放入项目中,这样就可以运行拉~

11.运行exe文件
运行exe文件时会先从pom文件配置的更新地址中获取更新文件,我们将之前app文件中的所有jar包放入服务器中,因为我本地没有任何所需的jar包,所以会一次性的将所有jar包从服务器上更新至exe根目录的lib中。
启动图
更新完后根目录会多出一个lib目录,里面存储的全是运行exe所需jar包(更新服务器上的)
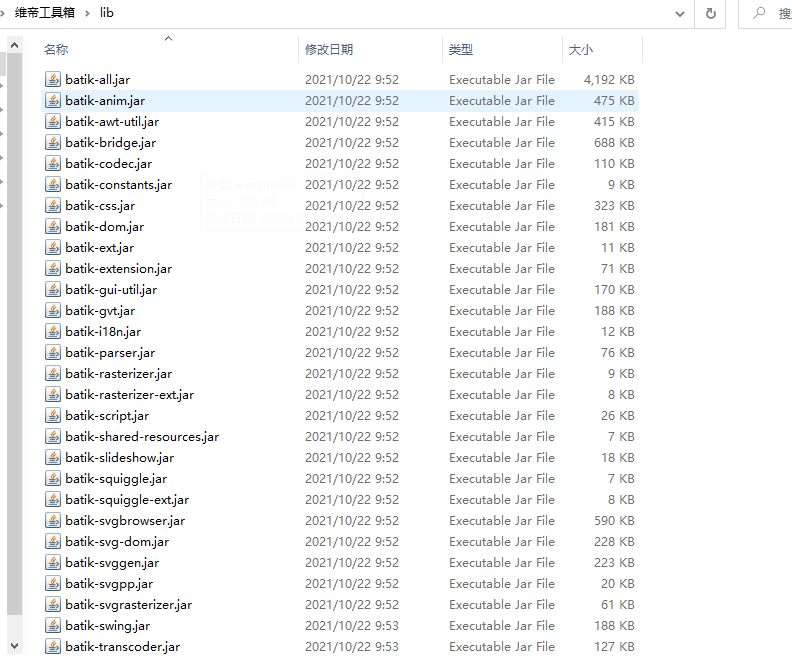
接下来就可以愉快的运行了~
写在最后
以后如果更新代码,如果pom文件中没有新增或升级的jar包的话,那么只需要将app目录下的app.xml以及Veddy.jar(pom.xml中配置的文件名)覆盖至更新服务器。如果pom文件中有新增或升级的jar包的话,那么则需要将该jar包以及app.xml文件覆盖至更新服务器。